Showing posts with label Refashions. Show all posts

Tuesday, April 17, 2012

Prom Sweet Prom


Last week I was able to work on this fun prom dress!!! I love the color and the gorgeous bead-work!

My neighbors asked me to hem up the bottom, fix a small hole in the tulle, 
and add sleeves to make it more modest.

 I had a hard time finding the exact color of fabric so that the sleeves would match the rest of the dress, so I ended up using two fabrics and overlaying them. The first fabric was a Fushia colored Mirror Organza (which is a sheer, lightweight, silky/somewhat stiff fabric:). I folded it three times so it was six layers thick and wouldn't be see-through. 
Then I added the second fabric on top, which was a raspberry colored, soft, wired Tulle. The sleeves were actually a bit more tricky than I thought. At first they turned out too poky on the top of the shoulders, so I sewed 3 small tuck/pleats on each sleeve so it would form to her shoulders better.


Here's how it turned out! Doesn't she look beautiful!?!?
(P.S. I really need to cover my dressform so it doesn't clash with whatever I put on it:)

Thursday, March 8, 2012

A Coat for Max


 A few months ago, I found a little coat for my 3 year old at Old Navy. It was so cute but I really didn't want to pay $40 for it. So I decided to try and sew one (which is something I never thought I would attempt)! I was about to donate one of my old coats to DI since I didn't use it anymore but I decided to hang on to it and make this one for Max.
First I took one of his jackets and used it as a pattern. After cutting it out, I decided that I didn't really like the color of my coat for Max. So I decided to cover each piece in gray, ha, using my mom's old windbreaker pants. Crazy, I know...but it was the only gray fabric I had and I liked the pockets and red accents on it:)
 I ended up using the pants pockets on the sleeves.


  It ended up being a little more work than I was planning on, mostly because I had to cover each piece of the coat. But I really ended up liking the gray!


Photobucket

Tuesday, February 21, 2012

For the Love of Scarves

  
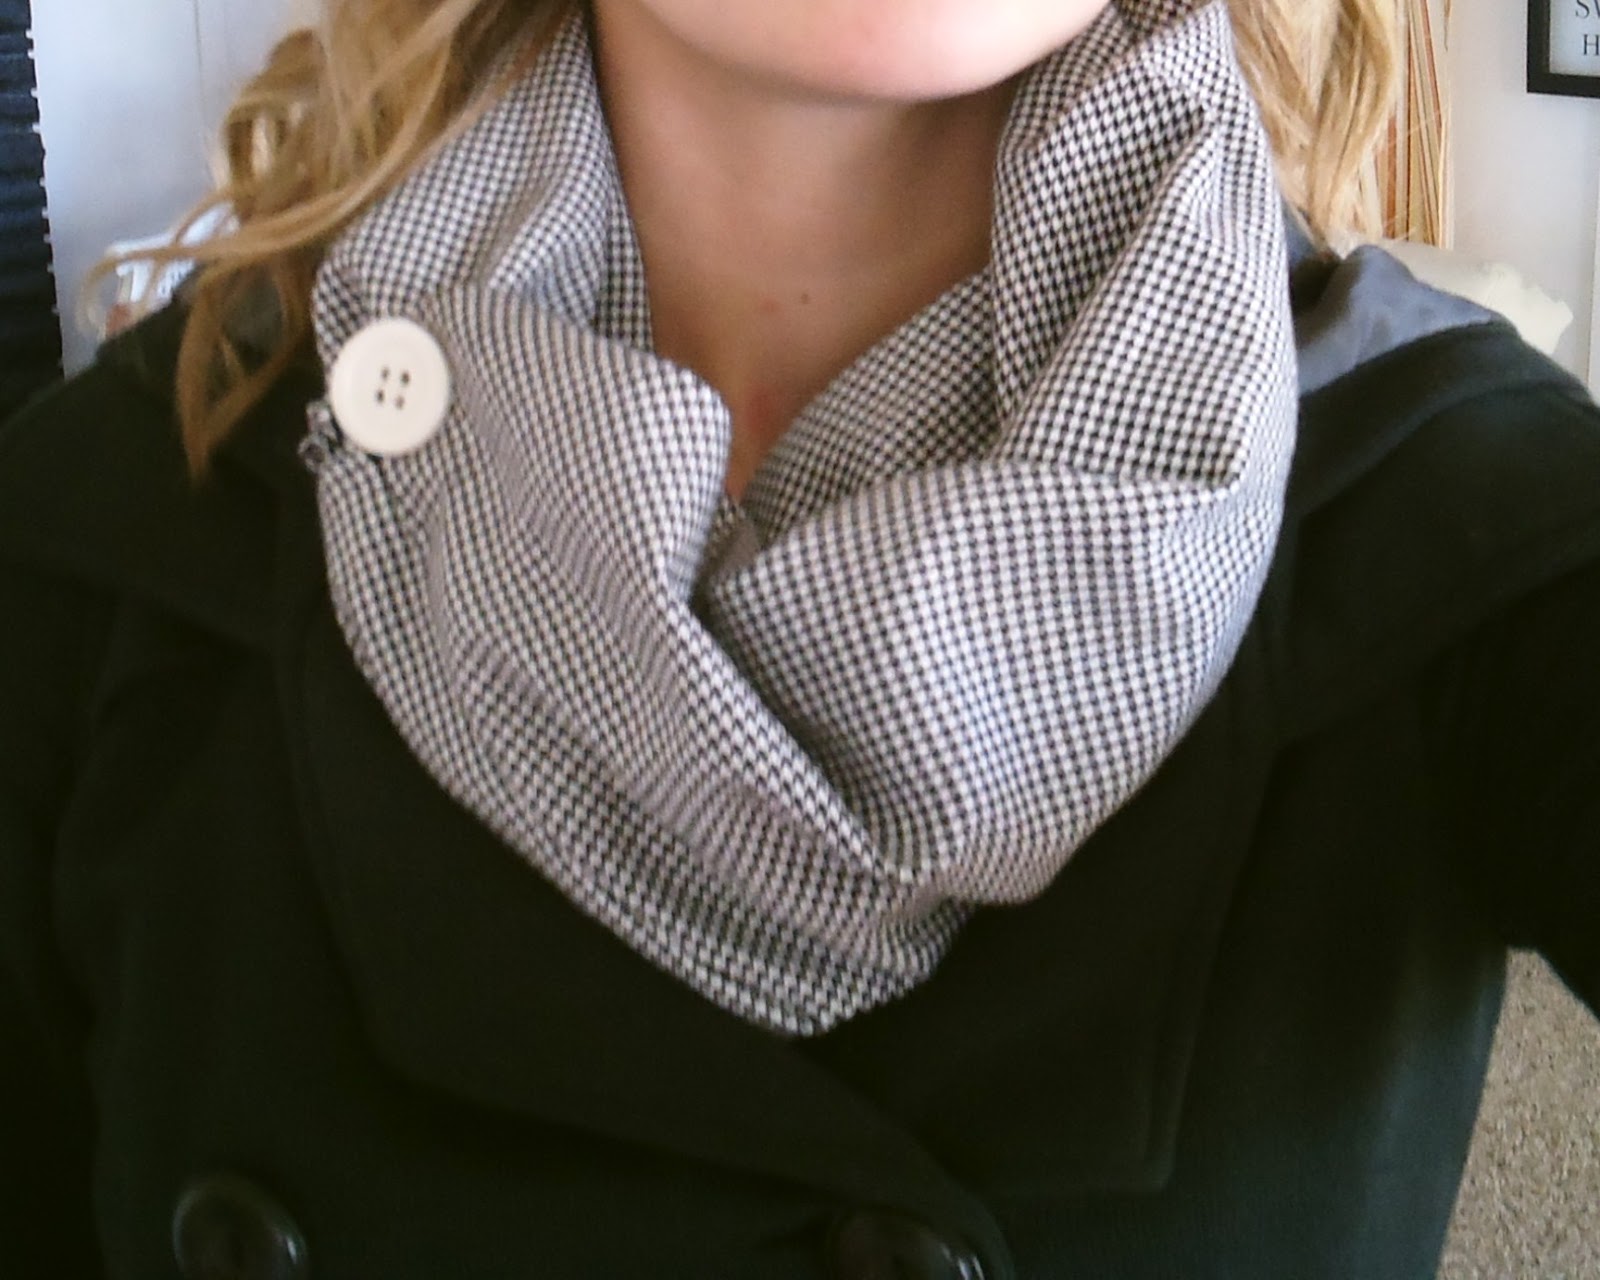
I love scarves! They always add so much to an outfit. This is one I made last year and it was super easy! I bet you'll never guess what I made it out of!!!

 My mom's old capris! I sure never thought I'd have those wrapped around my neck!

 Can you tell now? I loved the black and white houndstooth fabric that they were made of so I couldn't resist making it a scarf. I cut off one of the pant legs and sewed the raw edges together to make a nice seam, creating a long tube. I probably should have cut the elastic part out but I new it wouldn't show so I left it.
 Then I tried it on and put the elastic end inside the other end and determined how long and tight I wanted the scarf to be and where I wanted the button to go.
 Then I made a button hole at the end of the pant leg and sewed the button on. 
Pretty easy huh?
It goes well with this Billabong coat I found at Ross:)

Here's another fun scarf I found the other day when I was grocery shopping at Smiths. And it was only $1! I love the look of infinity scarves so I figured out how to tie one.
 
First I laid it out flat and took the top right corner and the bottom left corner and tied them in a square not.
 So it looks like this picture above.
 Then I took the bottom of the scarf and made a second loop and slipped it over my head.
 
Here's one last scarf I like to wear. I found at Walmart for $5. Don't mind the shadows:)
Oopsey DaisyCreative ItchTip Junkie handmade projects


Thank you to Sugar Bee Crafts for featuring me!!! I'm so grateful! It's my first feature, since I started my blog a month and a half ago:)


Tuesday, January 31, 2012

Toy Box Remake

A few months back I found this "Osh Kosh" Toy Box at a DI for $5. It had lots of stains and was pretty ugly so I decided to recover it.
After undoing a few screws it came apart easily. For the sides I used a blue canvas fabric and I found a cute floral printed fabric at Hancock Fabric for the top lid piece.
Then I stapled the fabric (on the back side) to each piece of the toy box and reassembled the whole thing. Looks a little bit better don't you think? It's so nice to have a place to hide all of the toys and it matches the room since I covered our pillows with matching fabric!

Friday, January 27, 2012

Sleeve Refashions

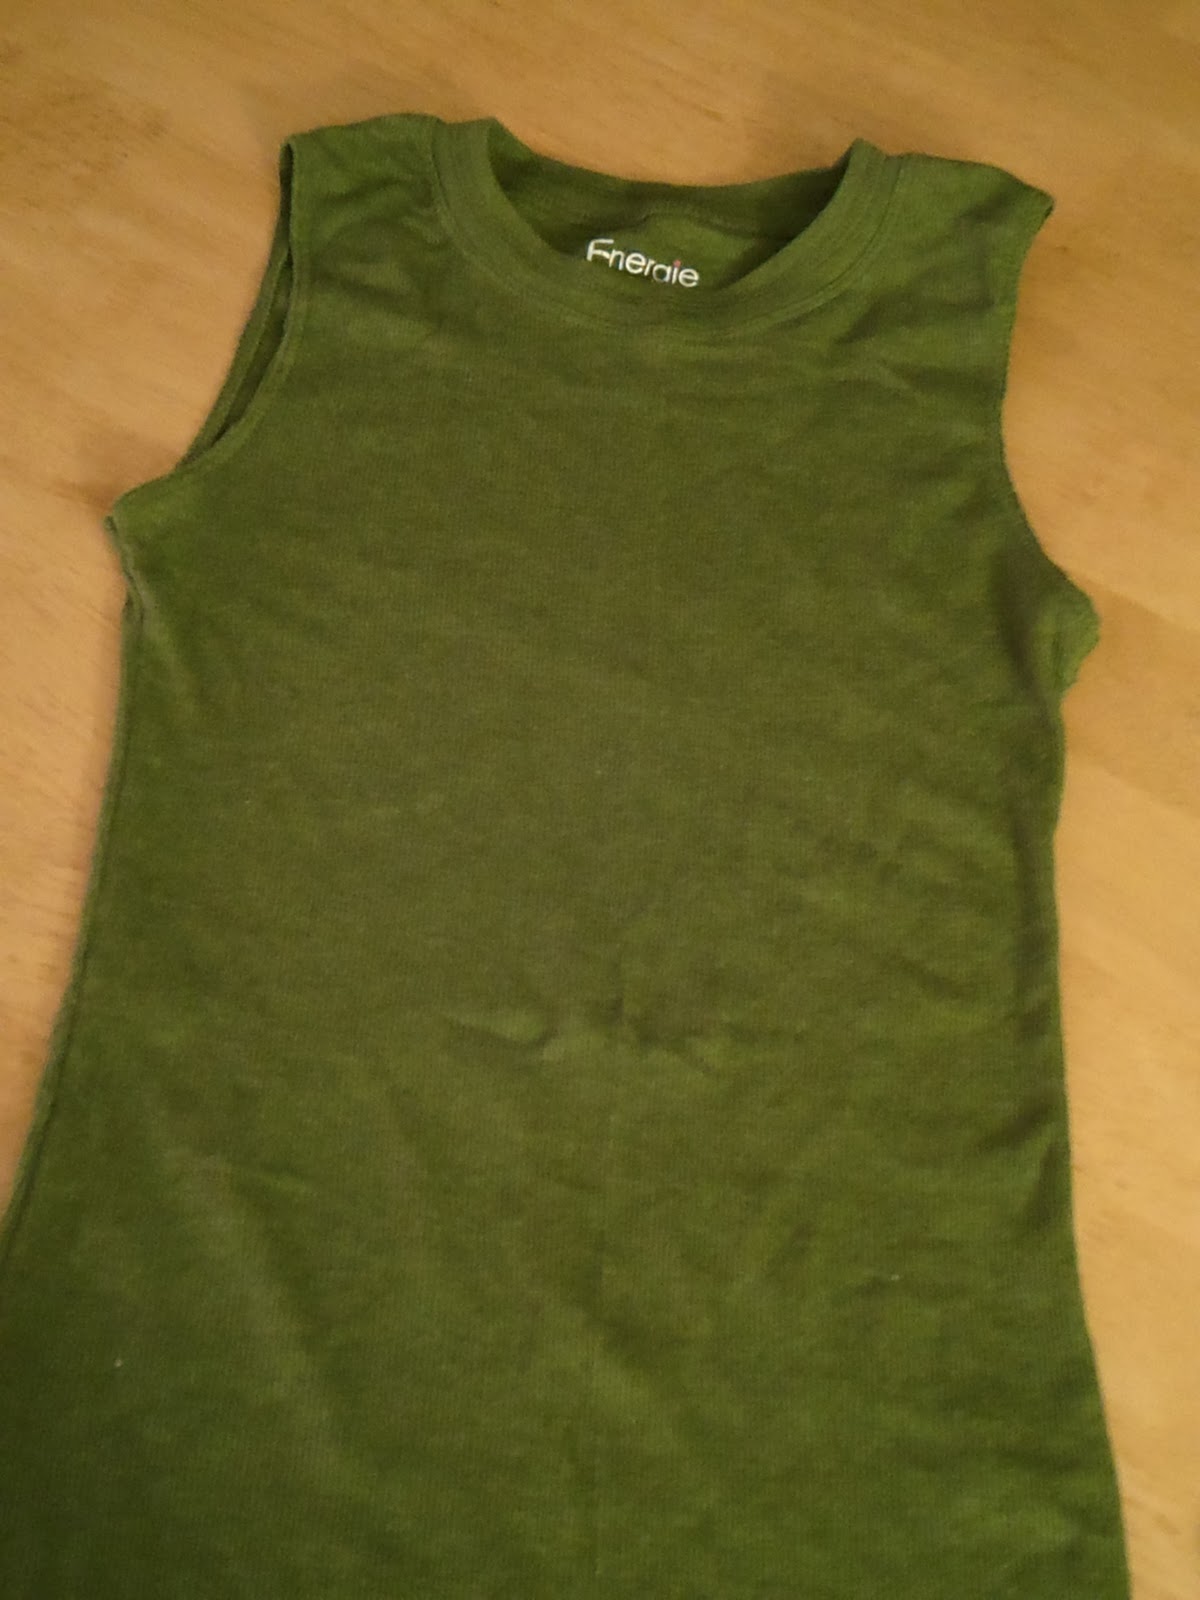
Do you have any shirts that you never wear? I liked this shirt last year but then it shrunk and the sleeves were way to short for my long arms. So I decided to cut the sleeves off and make something better out of it!
The sleeves on this shirt had nice serged edges at the seem that wouldn't fray, so I just cut around them and already had a nice finished edge.
Then I took the sleeves and cut the cuffs off of them.
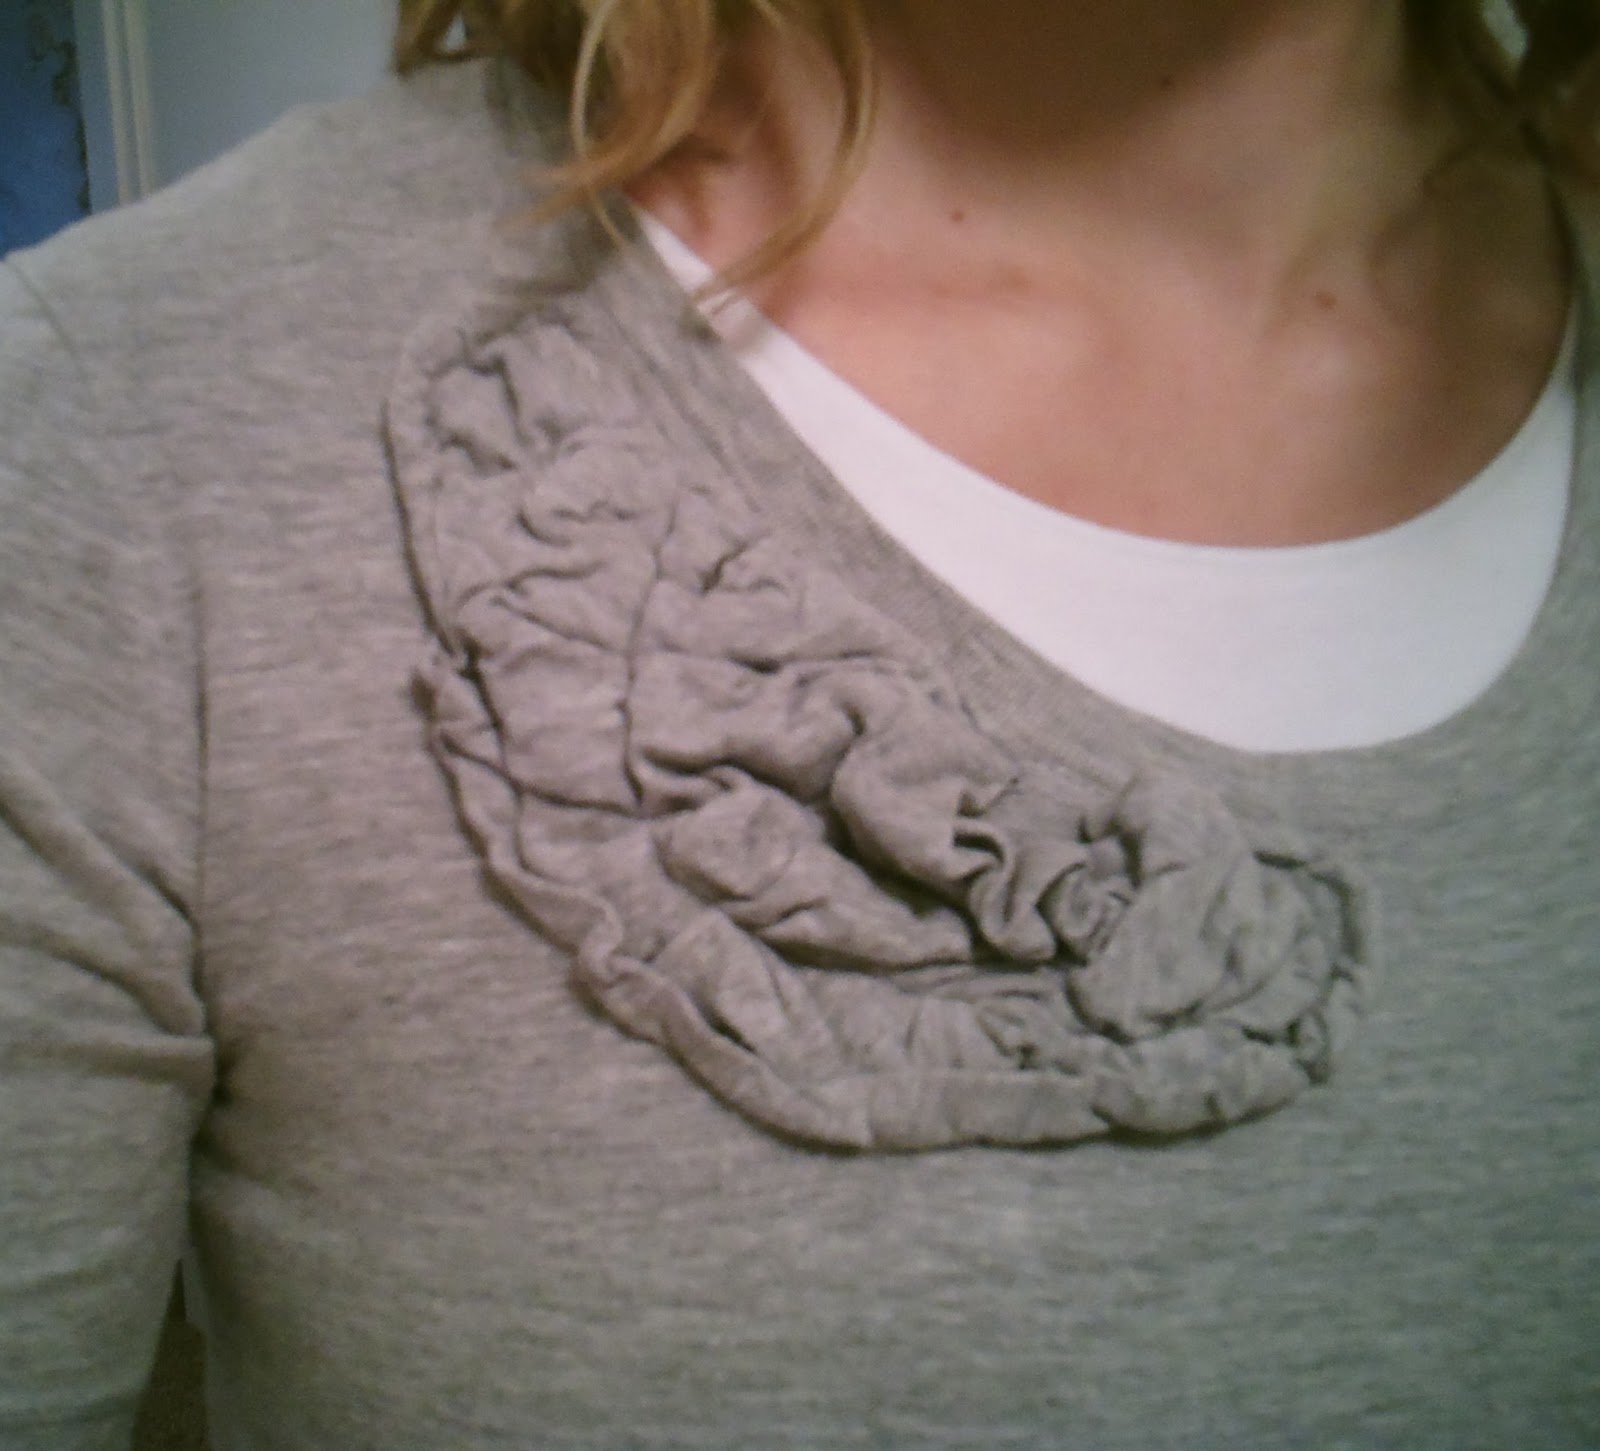
Next I put one of the sleeves around the neck of the shirt and played with it until I got the look I wanted for the shirt. I gathered it in random places, folding and hiding the raw edges of the sleeves. Then I sewed the gathers in random spots to keep them in place. Here's what it looked like after sewing the first sleeve to it:
Then I took the second sleeve and did the same thing. This time I pinned it in place to make sure it would hold the right shape I wanted.

Here's the finished product:


Here's another one I did last summer. I actually found this shirt at the dollar store! It was a Hanes long sleeved T-shirt with sleeves that were to short for me. It was a little baggy on the sides so I took it in to make it fit better. Then I cut off the sleeves and sewed one of around the neck to add an embellishment. Sure adds a lot to a plain $1 T-shirt huh?


Linking up to: